Who knew that something as simple as envelope printing could be so confusing to design?! Envelopes come in many different sizes and are printed on many different types of paper. And when it comes to “Offset” printing, there are many components to keep in mind. If the artwork is not planned and designed properly, you will not achieve the results you are hoping for. Here we will discuss everything you need to know when designing your printed envelope.
Offset vs Digital Envelope Printing
When creating your envelope artwork, you’ll first want to determine if your printer will produce these with offset printing or digital printing. The setup for each is very different, so you’ll save a lot of time if you know upfront.
Digital printing usually allows for smaller and faster print runs. However, this method requires you to keep your artwork fairly simple. You are not normally allowed to have the artwork bleed off the edges because the digital printer will use rollers on the sides to pull the envelope through the machine. It will print the front of the envelope first and then the envelope can be flipped and printed on the backside.
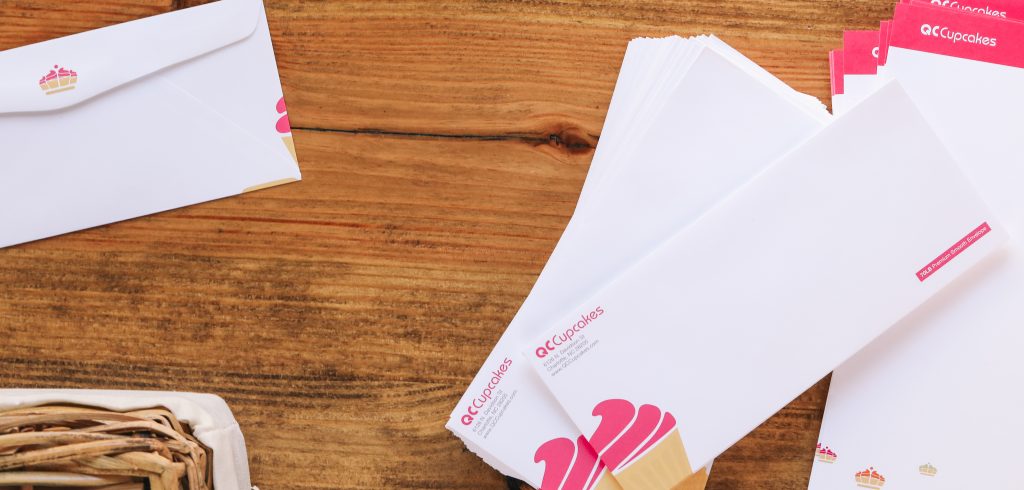
With Offset Printing, the envelopes will be printed “flat”. If you were to take a prepared envelope and pull it apart where it is glued together, creating one flat sheet of paper, this is how the envelope will appear when printed. With digital, the envelopes are cut, folded, and glued together first. Where offset is first printed, then cut, folded, and glued. The benefit of this is that you now have an entire canvas to print on. You can also bleed graphics and colors all the way off the edge in all directions.
But with this flexibility comes some precautions.
Cutting & Folding Shifts
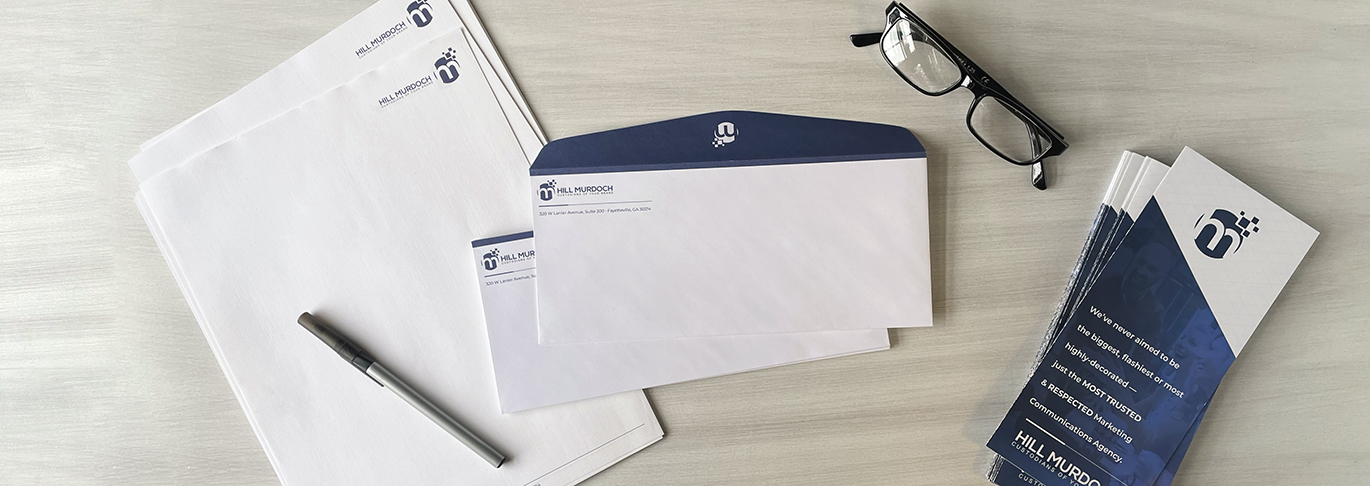
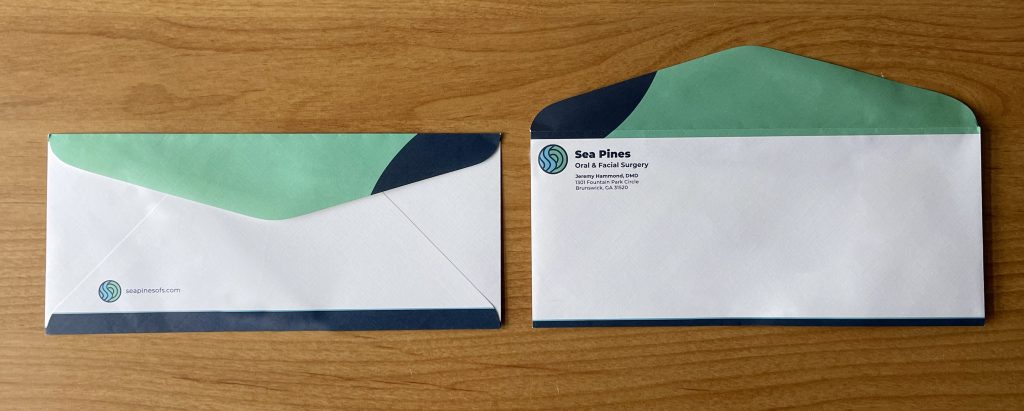
Once the flat sheet has been printed, the machines will cut the envelopes to size and create the folds to complete the envelope shape. During this process, there is a potential for a 1/8inch shift in placement. While this is very small, it is important to keep in mind because if you have graphics that you’d like to align with the edge of the envelope front, it may bleed onto the back or not appear at the edge as you had planned.
One example of this is wanting the back flap to have a color, while the rest of the envelope remains white. If there is a slight shift in placement, the colored flap will bleed to the front or have a white line at the top of the flap on the backside. So how do you fix this? We like to intentionally bleed the color from the flap onto the front giving a nice colored line along the top. This way, in the case of a shift, it is not noticeable because the color was intended to be there anyway with the initial design.
Always keep in mind how your graphics will look once a shift happens. Will you still be happy with the outcome if the design moves slightly, in any direction, by ⅛ inch?
Read more about envelope shift potential HERE.
Color Cracking
With any uncoated paper, if heavy inks are placed on the sheet and then folded, cracking in the ink may appear. This is because the ink sinks down into the paper fibers and then breaks away as the fibers of the paper are compromised along the fold. The best way to keep the cracking to a minimum is by using less ink. Heavily saturated inks – like black and dark hues – will show the cracking first. So try to use lighter colors along those areas.
Visualize The Folds
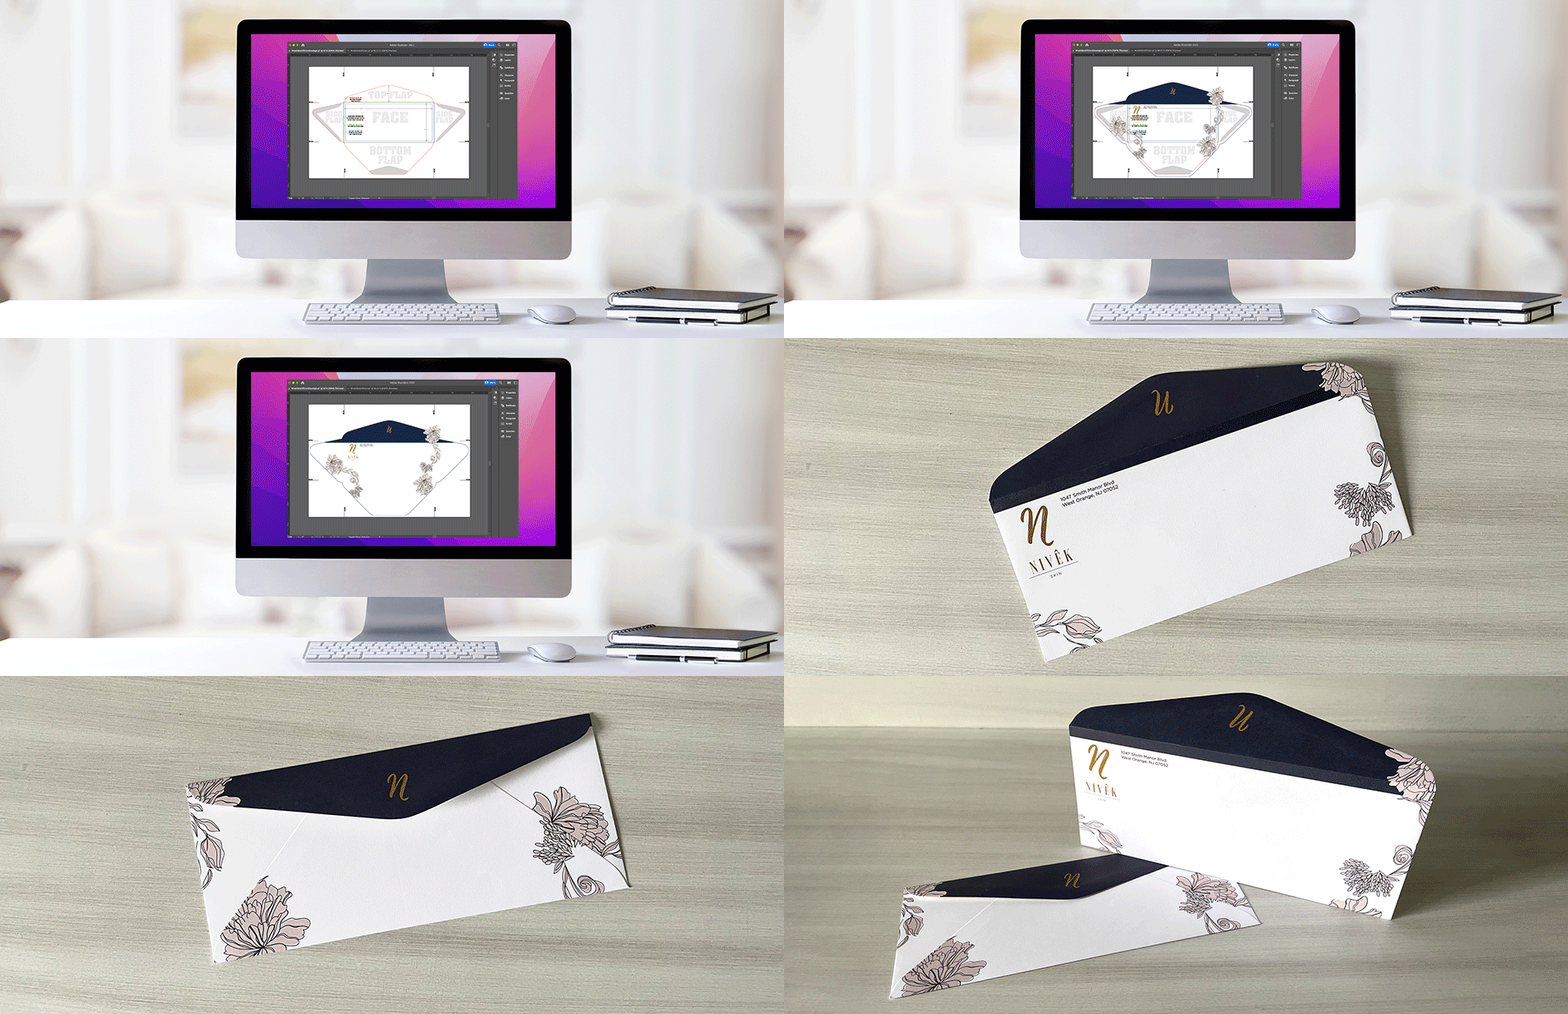
This one can be tricky. Many times designers will have it in their minds where graphics will fall and how they’ll all look together once the envelope is folded. But then when the final, printed envelope arrives, it doesn’t line up as they had thought. Our suggestion… print out the artwork on your home printer before sending it to print. You do not need to print at 100% – shrink it down so it fits on a single 8.5×11 sheet. Cut the paper down to size and then fold along the fold lines. This process helps tremendously to make sure it looks the way you think it will.
Use The Template
If you do nothing else when creating your envelope artwork… do this. Use a provided template. The templates will show you exactly where the folds are, what will be covered with glue, where the edges are located, and where your safe area is. If you do not use a template, your design will not print properly. We offer them for free on our website HERE.
Lastly, if you have any questions please do not hesitate to reach out. Our processing team would be happy to take a look at your artwork and see if there is anything to be concerned about. Or, if you need help designing your envelope, our design team is always available to help create a design from scratch or edit your existing designs. Reach out today!
Order your envelopes HERE.
Need some design inspiration? Check out our Dribbble page!
BONUS READ: Learn the difference between offset and digital printing.
