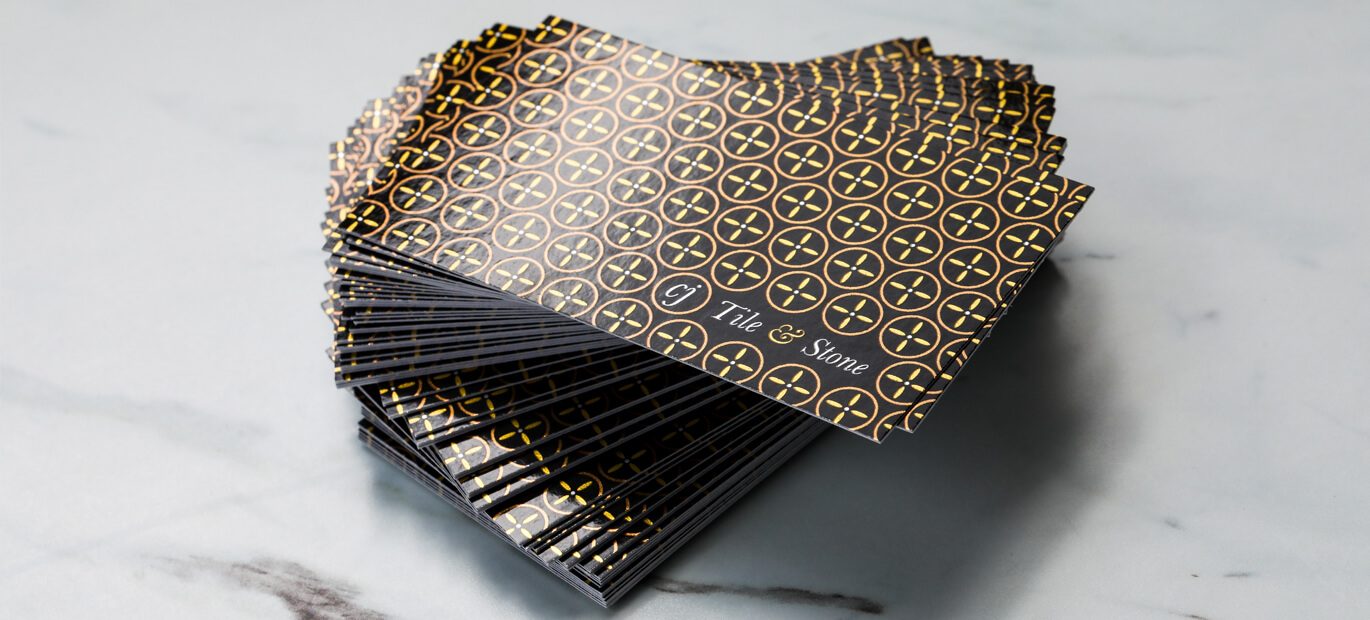
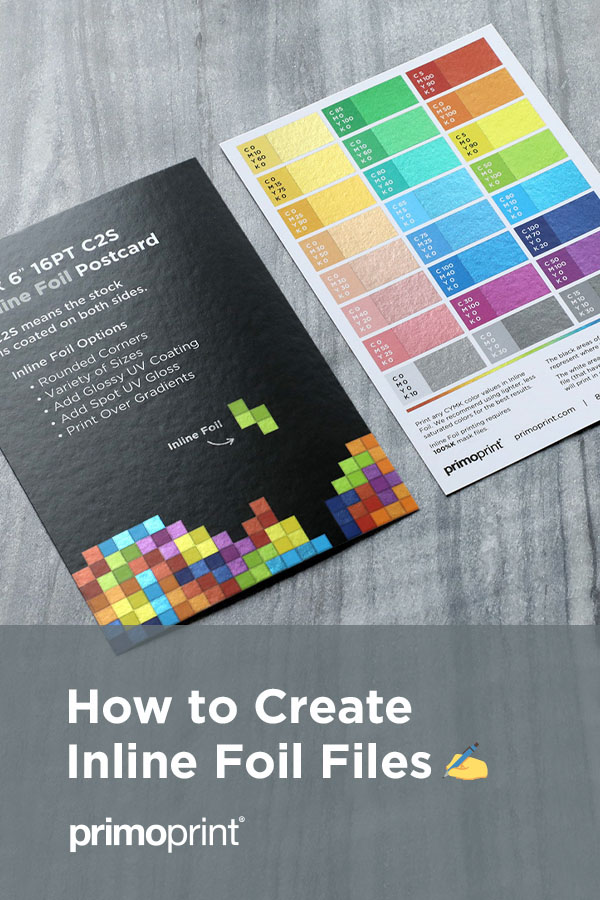
The inline foil is a unique process and adds great metallic shine to your artwork. Unlike stamped foil, you can apply Inline Foil to any solid color or gradient spectrum. You can use Spot UV over the top for an extra pop of shine, you can cover an entire page with Inline Foil, and you can also integrate thin details into the foil, such as text and intricate lines.
So the question becomes:
Set your Inline Foil files for the best results
For each printed side, you will need two files. The first file is your completed artwork. This is where you want ink to be applied. The second file is your Inline Foil mask file. This tells the printer where to lay the foil.
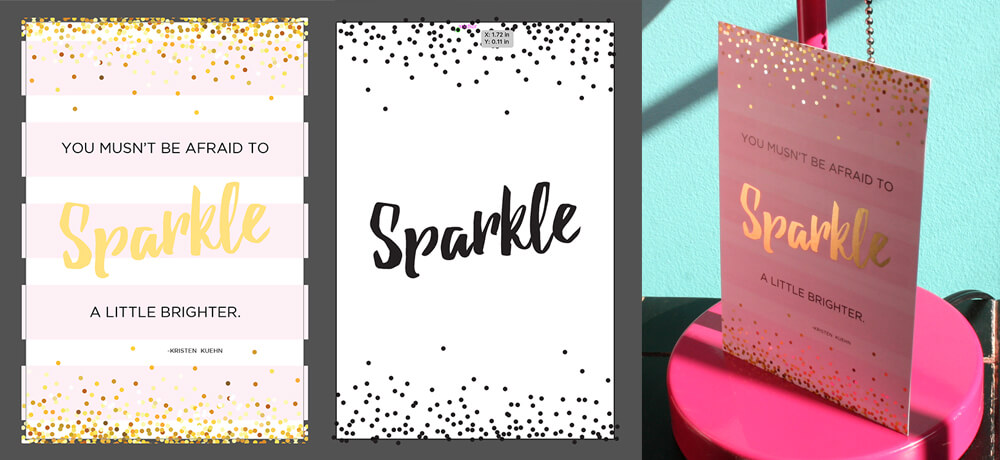
The below image is a screenshot of a postcard that shows an example of the two files. The image on the left is my original print file (done in Adobe Illustrator). I duplicated my artboard and then removed all of the elements EXCEPT for the parts that I want to become Inline Foil. If removing them is too complicated, then change them to white so they can’t be seen.
Then, all of your Inline Foil printing elements should be turned to 100% black (c0, m0, y0, 100k). This same process also works if you are doing the design in InDesign.
In Photoshop, the process is slightly different. The easiest way is to put all of your layers into a folder. The below screenshot shows that I labeled the folder “Print File.”
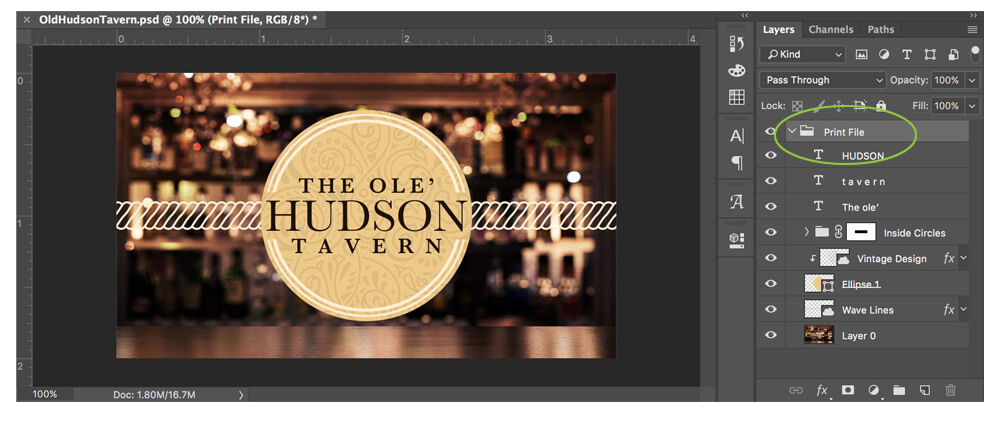
When you are 100% complete with your design, duplicate that folder. I named this one “Inline Foil mask.” Then, within this duplicated folder, go through and either turn off the layers that you do not want to be foiled or do a “color overlay” and turn them white.
Next, you’ll do a color overlay for all of the items that should be Inline Foil. Make the overlay 100% black (c0, m0, y0, 100k). And last, save your file as a .jpg. (This is the preferred file type when saving from Photoshop only.) To save your print file, turn off the mask layer to reveal just the print file.
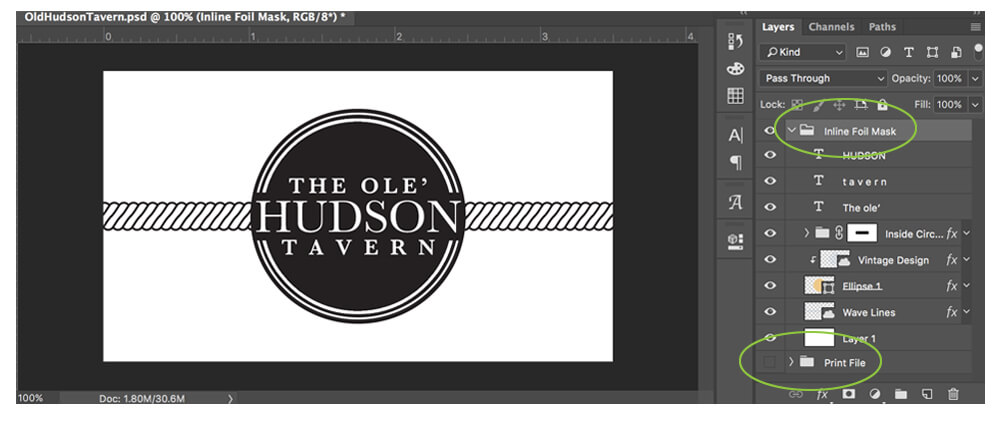
It’s essential, no matter which program you are using, that you do not move any elements when turning them black and white. The slightest shift in placement will make your foil not line up correctly with your print.
A couple of other things to keep in mind…A pure silver metallic foil can be achieved by placing your mask over a white background. To avoid scratching the foil, we recommend using 15% K (c0, m0, y0, 15k) on your print files. This build helps to prevent scratches on the foil and still yields a rich silver color.
For example, PhotoBuzz (below) wanted the entire front of their inline foil business cards to be foiled. So the mask file is completely 100% black. And when printed, the white background becomes bright silver.

Also, lighter colors foil the best. Your color will be slightly darker when printed, so the lighter the ink, the more vibrant the foil.
If you have any questions about foil printing, or if you need help creating your files, feel free to contact us. We are always here for you! If interested in design services, you can learn more here.
